Stained glass is widely used for windows, door, and doom.
Step 1:To make the stained glass, first we need to prepare the material and tool. Stained color glass, glass cutter, wheel cutter, cutting oil, pliers, runner pliers, copper foil, soldering iron, solder, flux, grinder, safety glass, safety gloves.
Step 2: make a sketches of the design that which we will make. Craftsmen should simplify some of the edges to make it workable in glass. When draw the sketch, Graph paper makes this thumbnail-to-working-design process a breeze. Every square in the thumbnail became three squares in the final design. In order to make the production easy, it is better to mark the design with no.
Step 3: Tracing the Design Onto the Glass. Trace the shape on the glass according to the sketch,When draw on the glass, Draw on the cut side of the glass or flip the pattern over if you want the uncut side to be the front of the design..
Step 4: Cutting Straight Lines, Using a ruler, align your glass cutter so that the wheel is aligned over the line you are trying to cut.create Score the smooth side of glass with a glass cutter.break the score by holding it on each side and snapping it apart with your hands. Alternatively, use your pliers to put pressure on the score line. Line up the middle of the pliers with the line you are trying to break and squeeze. The glass will break along your score line!
Step 5:Cutting Curves Score the curve in the same way you did straight lines – from one edge to the other – following the line of your curve. I prefer to use pliers to add pressure to curved scores to help them snap. Another technique is to tap the scored line using the end of your cutter. It will assist the fracturing of the glass.
Step 6: Grinding. After cutting all the different pieces, Grind the edges of the glass pieces to remove any teeth or sharp edges. Grinding makes the edges rough so the foil will stick to the glass. Rinse and dry all the pieces to remove ink or grinder dust.
Step 7: Copper Foil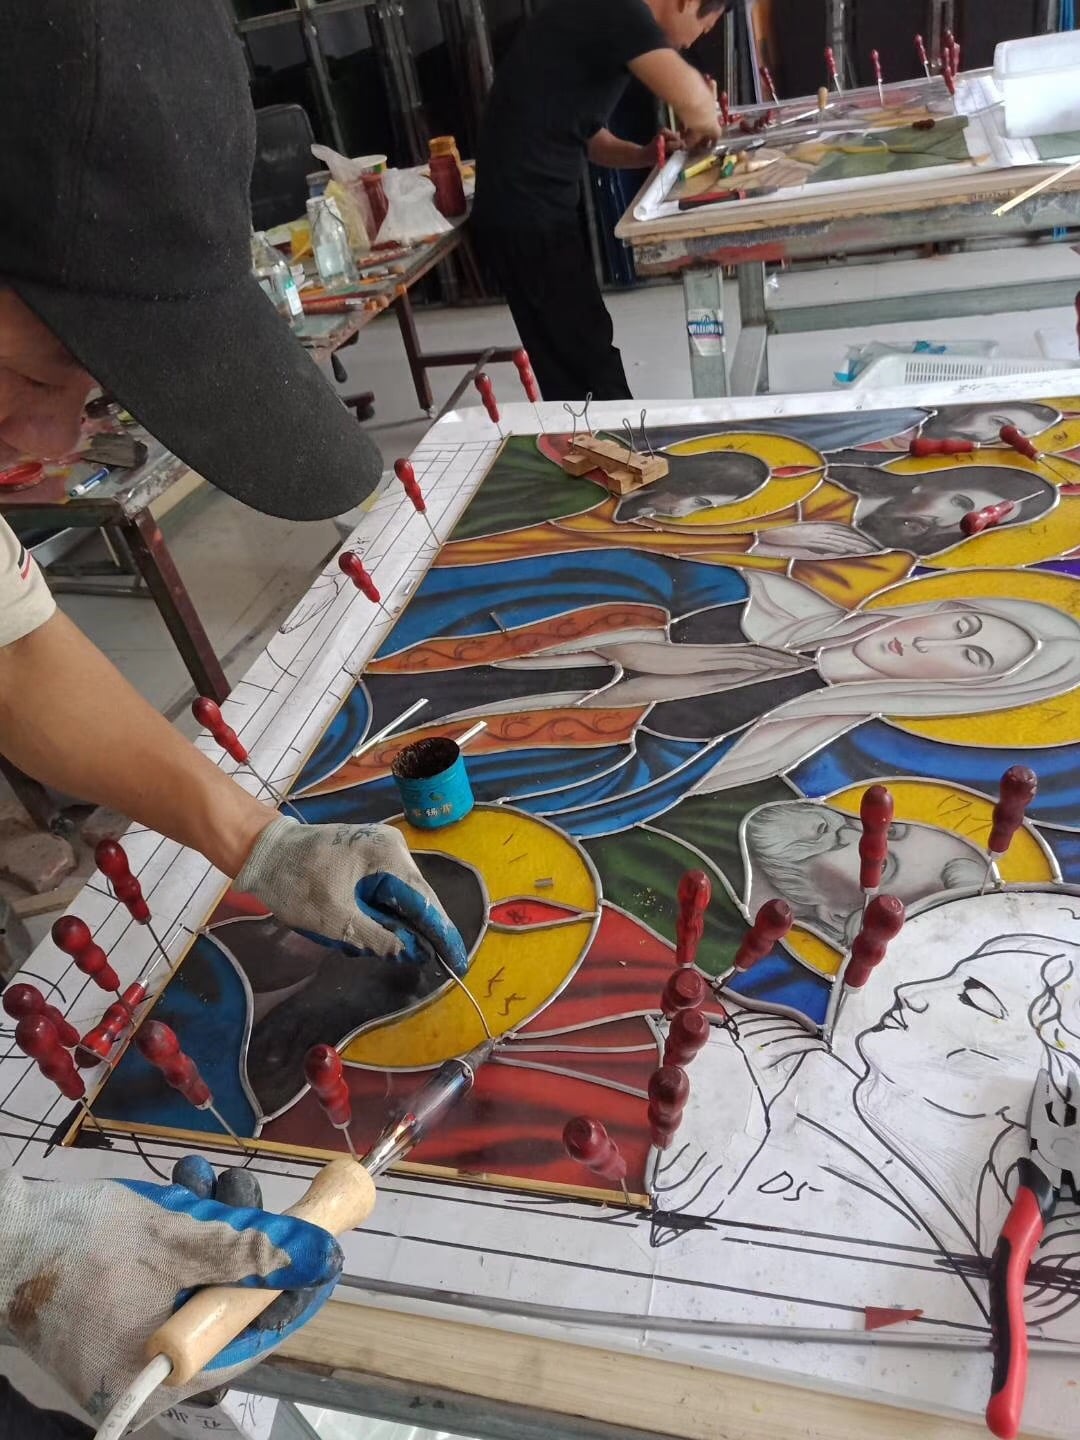
Step 8: Soldering
Step 9: Frame and Hang